Exploring Custom Text Rendering with Jetpack Compose
TL;DR: exploring TextMeasurer, TextLayoutResult and Canvas for custom text rendering with Jetpack compose
My coworker showed me this article from devtechie on how to implement custom text rendering in SwiftUI. I was a bit envious of how easy it looked and I thought…“hmm, I think we should actually be able to do this in compose quite easily too”. So, I decided to explore the lower level text APIs available on Compose and challenged myself to recreate the renderings with Compose.
Before I talk through my take on some of the custom text renderings I want to recreate, I want to get straight to the main APIs that we can use to achieve the effects.
Jetpack Compose Lower-Level Text APIs
TextMeasurer
The TextMeasurer API allows us to - you guessed it - measure the text before we draw it. It takes into account the style, text, constraints, and other things that could influence the size of the text. TextMeasurer has a measure function that returns a TextLayoutResult. The typical way one would create a text measurer is:
val textStyle = MaterialTheme.typography.headlineLarge
val text = "My special text"
val textMeasurer = rememberTextMeasurer()
val textLayoutResult = remember(text, textStyle, constraints) {
  textMeasurer.measure(
    text = text,
    style = textStyle,
    //constraints = constraints <--- if you need constraints
  )
}
TextLayoutResult
The TextLayoutResult is where the fun is. It contains information about the text being laid out. With TextLayoutResult, you can do a lot of cool things. You can get the number of lines required to draw the text via TextLayoutResult.lineCount. It also allows us to get the size of the text via TextLayoutResult.size.
I really like this API because it’s so powerful - it even gives us character by character information. You can get the bounding box Rect of a particular index in the text, and this is powerful for influencing the text rendering on a character-by-character basis.
I strongly recommend going through the TextResultLayout docs to see what you can do.
Some APIs from the class that we will use in the rest of this post include:
- getLineStart / getLineEnd - allows you to get the start or end character index drawn on a specific line. You can use that to determine which character is first or last on a specific line.
- getLineLeft / getLineRight. I found this a bit confusing, but unlike the start / end equivalents which return the character index in the text, these APIs return the x coordinates of the beginning or end of a specific line.
- getLineTop / getLineBottom - These return the top / bottom coordinates of a specific line. You can combine these with the left / right APIs to determine the bounding rectangle for each line.
Canvas
Then finally, the Canvas API - this is where we actually get to draw our text, applying various transforms as required.
Recreating the custom renderings with Compose
Now that we’ve talked through the basics of the lower-level text APIs, we can now try to recreate some of the examples in the reference article.
These are by no means the only way to solve these problems.
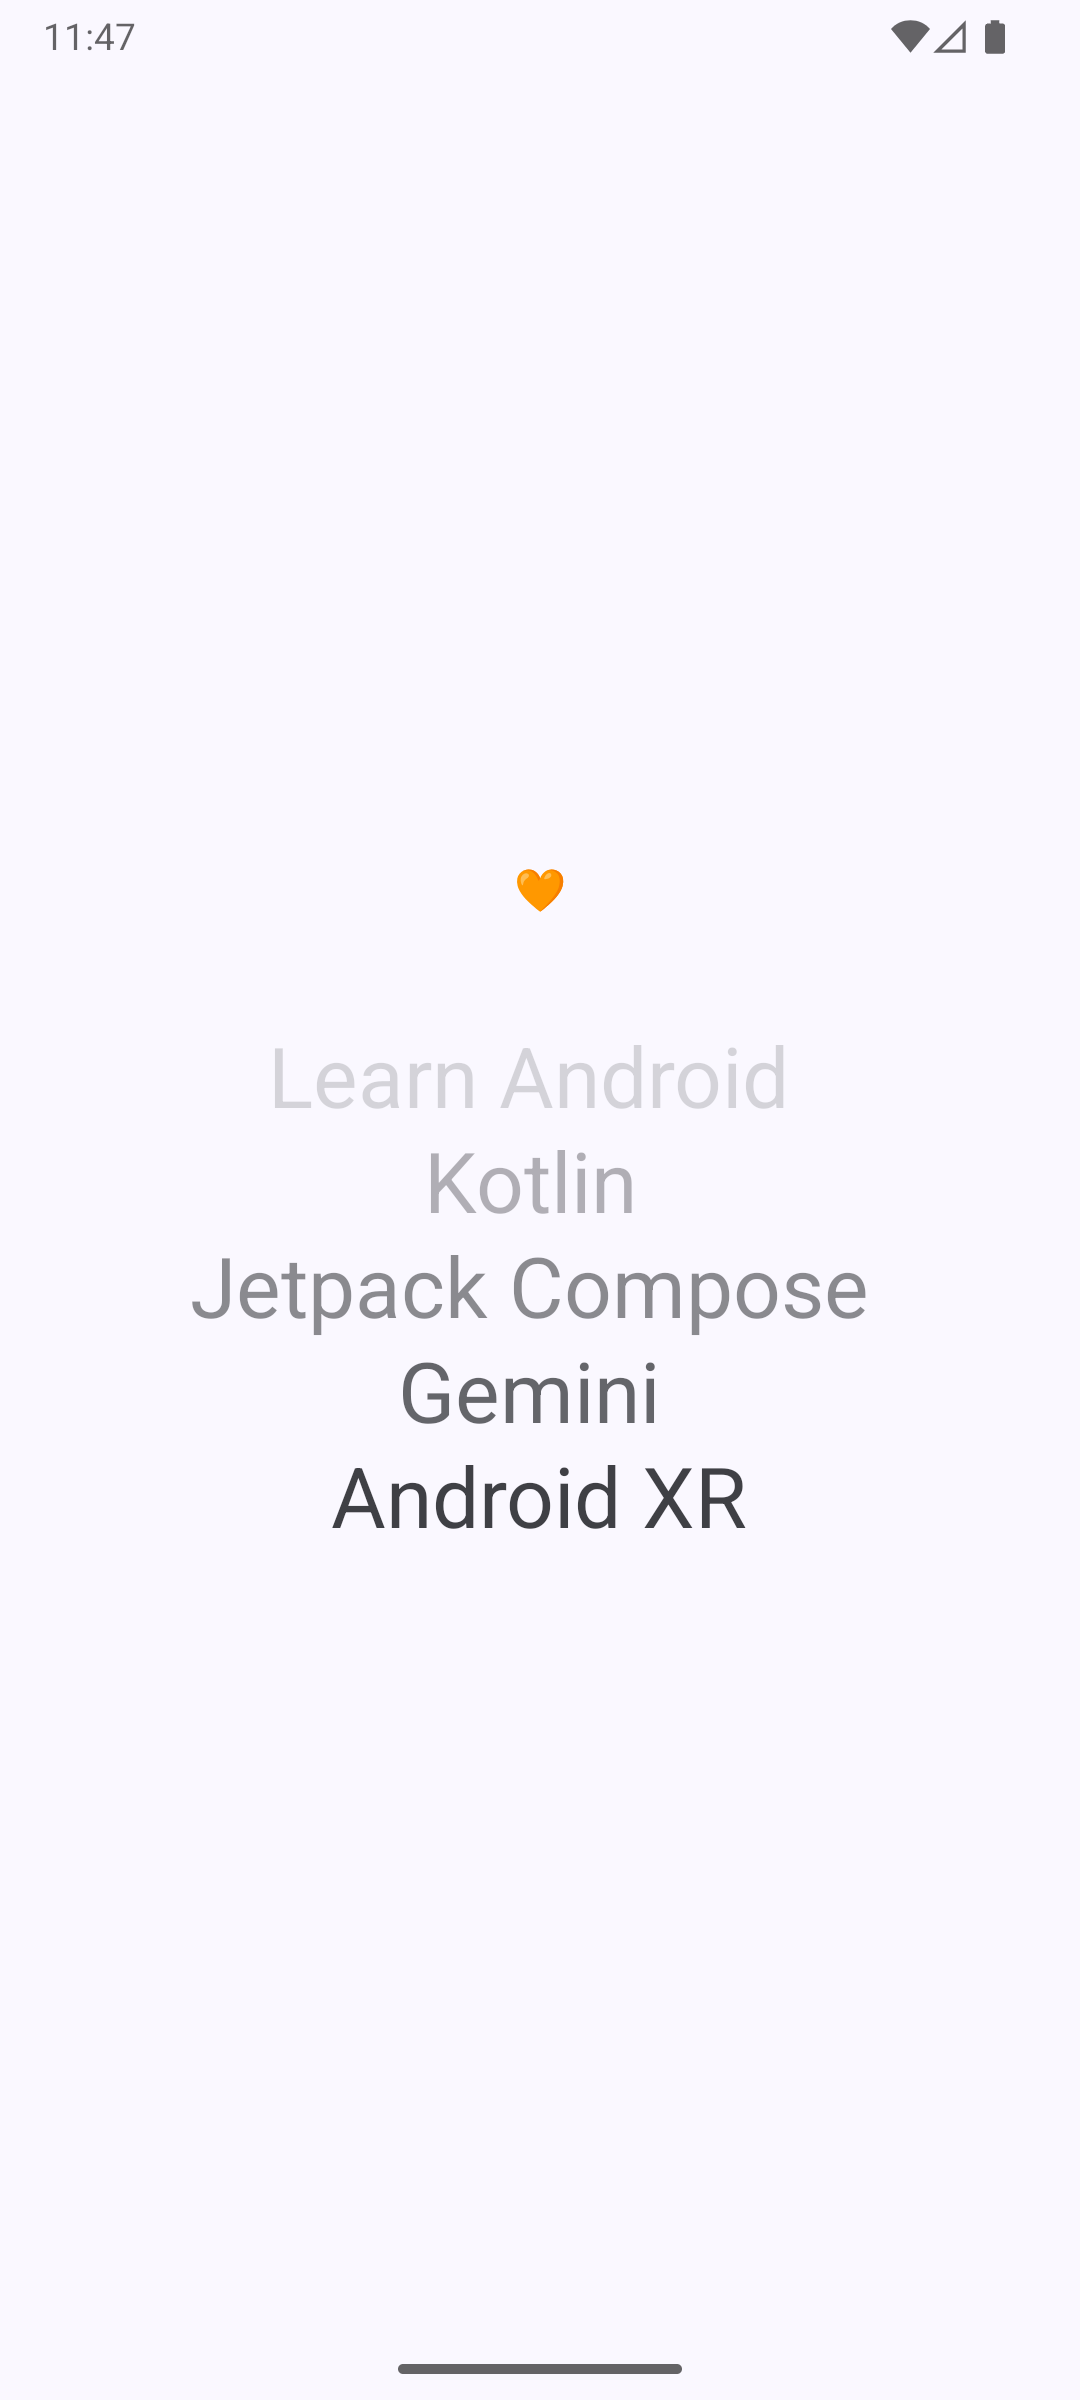
Faded Text
Let’s start with the faded text. A multi-line text that fades gradually, until the last line is fully visible.

Conceptually, how I thought of this was: “if we can figure out how many lines, we can then apply an alpha to the text on each line, but the alpha value should uniformly increase across the lines”.
Luckily for us, we can use the TextMeasurer to do this, as I described previously, and then calculate the alpha values.
@Composable
fun FadedText(text: String, textStyle: TextStyle, modifier: Modifier = Modifier) {
  // the BoxWithConstraints is needed to apply the constraints to the text measurer
  BoxWithConstraints(modifier) {
    val scope = this
    val density = LocalDensity.current
    val maxWidthPx = with(density) { scope.maxWidth.toPx() }

    // measure text, considering the max width constraint
    val textMeasurer = rememberTextMeasurer()
    val textLayout = remember(text, textStyle, constraints) {
      textMeasurer.measure(
        text = text,
        style = textStyle,
        constraints = constraints
      )
    }

    val canvasSize = with(density) {
      DpSize(textLayout.size.width.toDp(), textLayout.size.height.toDp())
    }

    Canvas(modifier = modifier.size(canvasSize)) {
      for (lineIndex in 0 until textLayout.lineCount) {
        val startCharIndex = textLayout.getLineStart(lineIndex)
        val endCharIndex = textLayout.getLineEnd(lineIndex)

        val lineLeftCoordinate = textLayout.getLineLeft(lineIndex)
        val lineTopCoordinate = textLayout.getLineTop(lineIndex)
        // let's calculate the alpha for each line
        val alpha = textStyle.color.alpha * lineIndex.toFloat() / textLayout.lineCount

        // let's get the text for that line and draw it
        val lineText = text.substring(startCharIndex, endCharIndex)
        drawText(
          textMeasurer = textMeasurer,
          text = lineText,
          topLeft = Offset(x = lineLeftCoordinate, y = lineTopCoordinate),
          style = textStyle.copy(color = textStyle.color.copy(alpha = alpha)),
          // other parameters that we can pass
          //
          // overflow = overflow,
          // softWrap = softWrap,
          // maxLines = maxLines,
        )
      }
    }
  }
}
And here’s the result:
It took a little more code, compared to the SwiftUI equivalent by DevTechie, but it still seems rather easy. I cannot imagine how non-trivial this would have been in the old View system on Android.
Warped Text
Let’s try to recreate the warped text.

This one looked interesting. My intuition was that it looks like we need to move each character up or down in a wave. Like a Sine wave. Unlike the previous example, which we drew line-by-line, we have to do this one character-by-character. So let’s see how that will work.
// ...previous
// similar code as above, so I will paraphrase a bit
// measure text, considering the max width constraint
val textMeasurer = rememberTextMeasurer()
val textLayout = remember(text, textStyle, constraints) {
    textMeasurer.measure(
        text = text,
        style = textStyle,
        constraints = constraints
    )
}

val canvasSize = with(density) {
    DpSize(textLayout.size.width.toDp(), textLayout.size.height.toDp())
}

Canvas(modifier = modifier.size(canvasSize)) {
    for (lineIndex in 0 until textLayout.lineCount) {
        // get the first and last characters for each line
        val startCharIndex = textLayout.getLineStart(lineIndex)
        val endCharIndex = textLayout.getLineEnd(lineIndex)

        for (charIndex in startCharIndex until endCharIndex) {
            // for each character, get the rect that it occupies
            val rect = textLayout.getBoundingBox(charIndex)
            val char = textLayout.layoutInput.text[charIndex].toString()

            // apply the translate transformation
            withTransform({
                translate(
                    left = 0f,
                    top = 5 * sin(charIndex * 0.7).toFloat()
                )
            }) {
                drawText(
                    textMeasurer = textMeasurer,
                    text = char,
                    topLeft = Offset(x = rect.left, y = rect.top),
                    style = textStyle,
                    overflow = overflow,
                    softWrap = softWrap,
                    maxLines = maxLines,
                )
            }
        }
    }
}
And the output looks like this. Not bad at all.
Animated Warped Text
This one was interesting. It works mostly like the previous solution, but what if we wanted to animate it going up and down? Thankfully, we can easily create an infinite animation in Jetpack Compose using the rememberInfiniteTransition API.
So we want the amplitude of the sine wave. This one requires a bit of knowing how a sine wave works. A quick crash course is that the amplitude is the “height” of the warping. In the previous example, we set it to 5. So, that is what we want to animate.
//
val infiniteTransition = rememberInfiniteTransition()
// we want it to swing from -5 to +5
val sinusoidalAmplitude by
infiniteTransition.animateFloat(
    initialValue = with(density) { -5.dp.toPx() },
    targetValue = with(density) { 5.dp.toPx() },
    animationSpec =
        infiniteRepeatable(
            animation = tween(2000, easing = LinearEasing),
            repeatMode = RepeatMode.Reverse,
        ),
)

Canvas(...) {
  // ...
  for (lineIndex in 0 until textLayout.lineCount) {
    // ...
    for (charIndex in startCharIndex until endCharIndex) {
      // ...
      withTransform({
          translate(
              left = 0f,
              // apply the sinusoidalAmplitude value here
              top = sinusoidalAmplitude * sin(charIndex * 0.7).toFloat()
          )
      }) {
          drawText(...)
      }
    }
  }
}
And here’s the result:

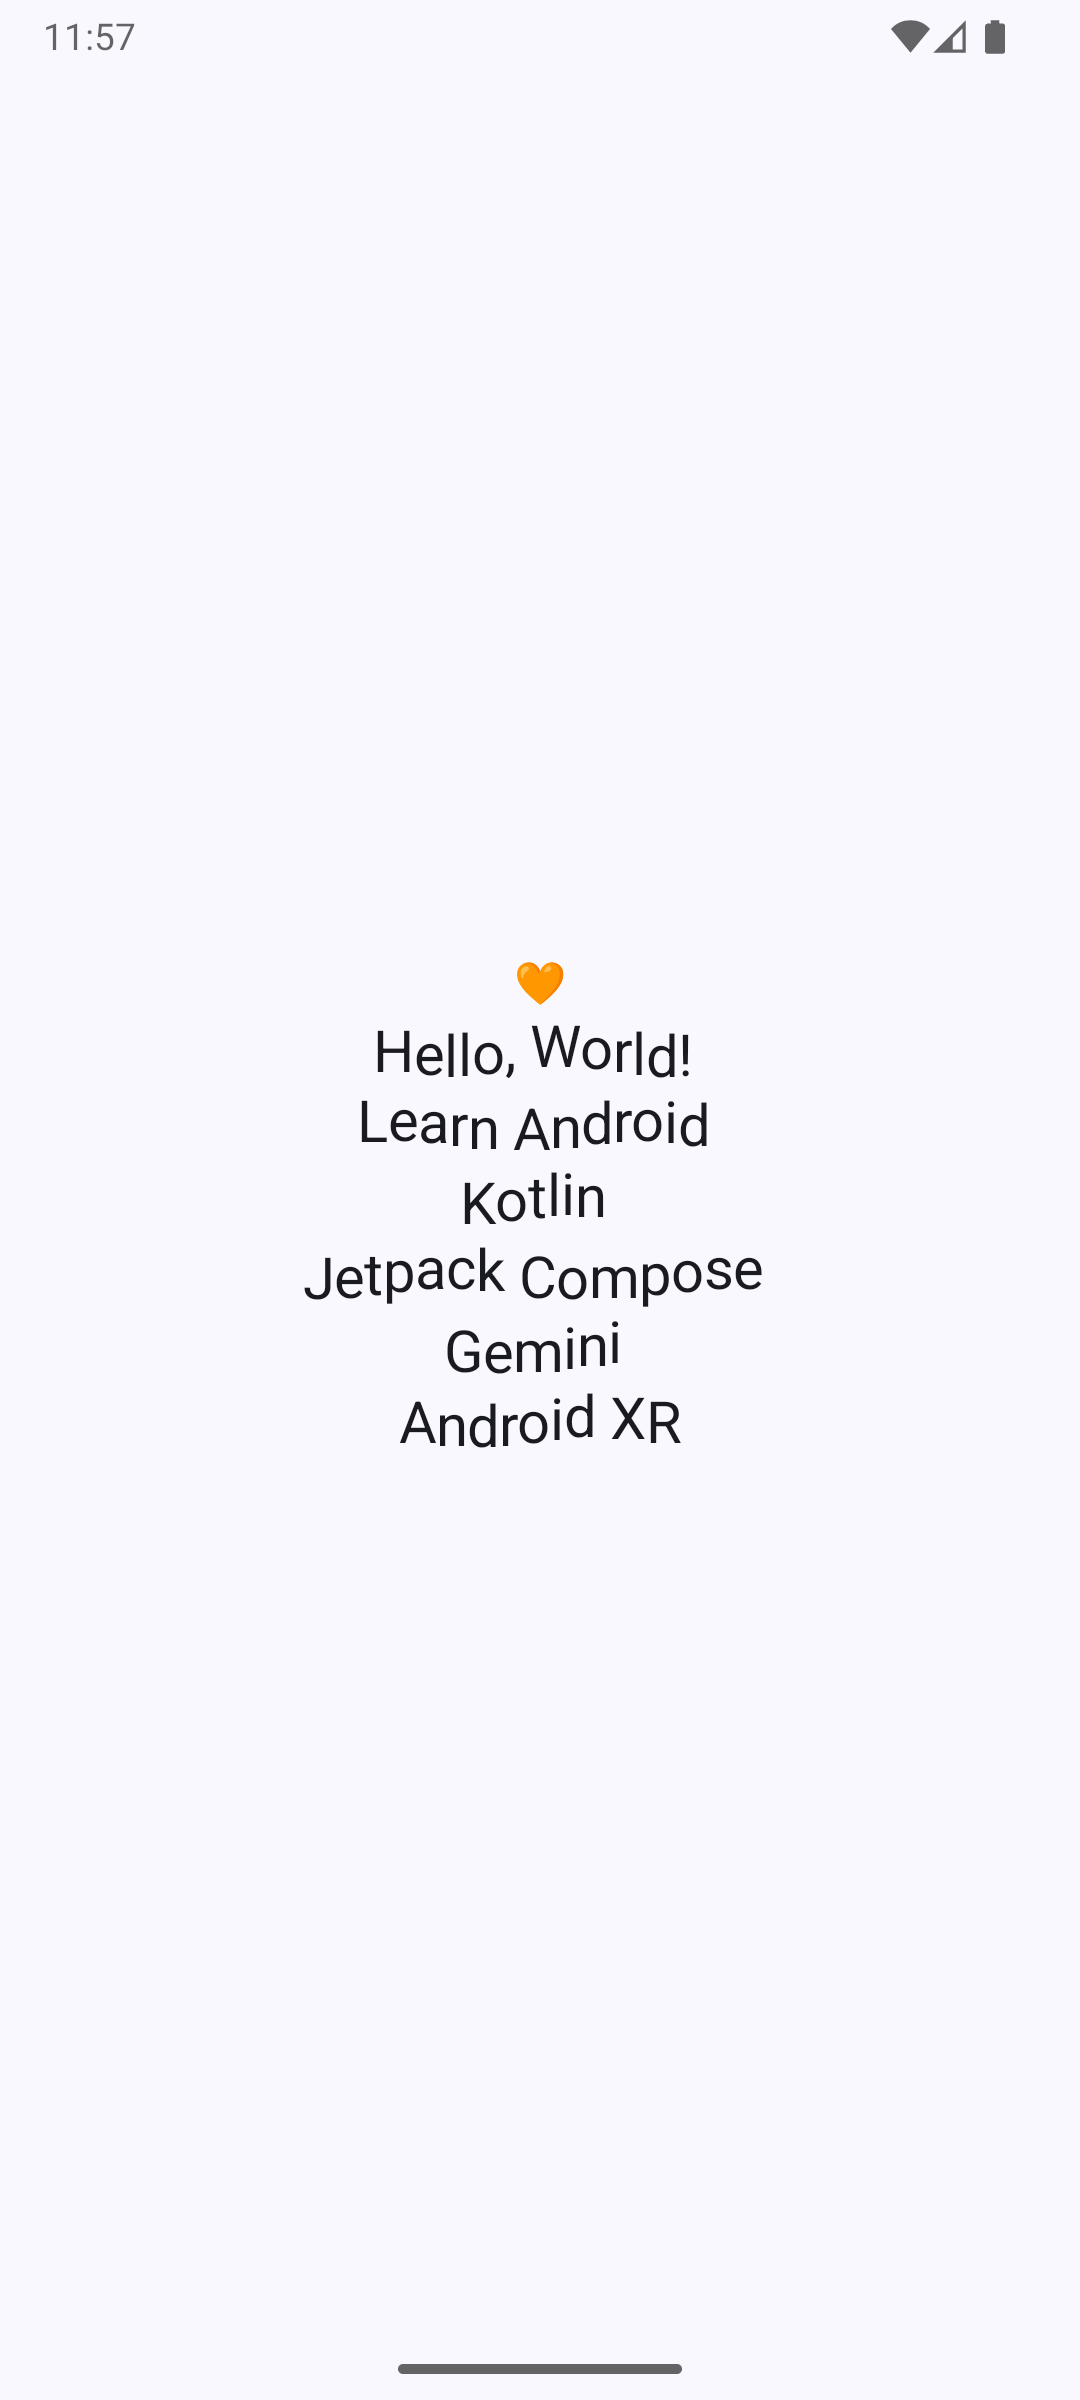
Typewriter Text
Since I was already doing this, I thought to go one extra step, to recreate a typewriter effect such that each character appears.
This time, I’ll show the final effect first, before the code, so that we can think about it.
To achieve this kind of thing, we need to smoothly display each character. My approach here was to use a value animation for the text length, and always draw the substring only as far as the animation has played.
// initialize the animation
val animatedCharacterCount = remember { Animatable(0f) }
LaunchedEffect(text) {
  animatedCharacterCount.animateTo(
    targetValue = text.length.toFloat(),
    // one may need to find another way to make the duration adjust properly
    // for shorter texts, this may be too quick.
    animationSpec = tween(durationMillis = text.length * 50, easing = LinearEasing)
  )
}

// ...
Canvas(modifier = modifier.size(canvasSize)) {
  val lines = textLayout.lineCount

  val visibleChars = animatedCharacterCount.value.toInt()
  for (lineIndex in 0 until lines) {
    val startCharIndex = textLayout.getLineStart(lineIndex)
    val endCharIndex = textLayout.getLineEnd(lineIndex)

    if (visibleChars > startCharIndex) {
      val topCoordinate = textLayout.getLineTop(lineIndex)
      val leftCoordinate = textLayout.getLineLeft(lineIndex)

      // we only want to show as far as the last character on the line
      val displayedEndIndex = minOf(endCharIndex, visibleChars)
      val displayedText =
        textLayout.layoutInput.text.substring(startCharIndex, displayedEndIndex)

      drawText(
        textMeasurer = textMeasurer,
        text = displayedText,
        topLeft = Offset(x = leftCoordinate, y = topCoordinate),
        ...
      )
    }
  }
}
Wrapping up
That turned out not to be difficult at all. The code was a bit more verbose than the SwiftUI equivalents. Despite that I have never had to do custom text rendering on compose, it was still fairly straightforward to do. I was mostly curious to see how easily we could replicate the things from the article and I was pleasantly surprised.
You can see the full source code for these explorations here: